
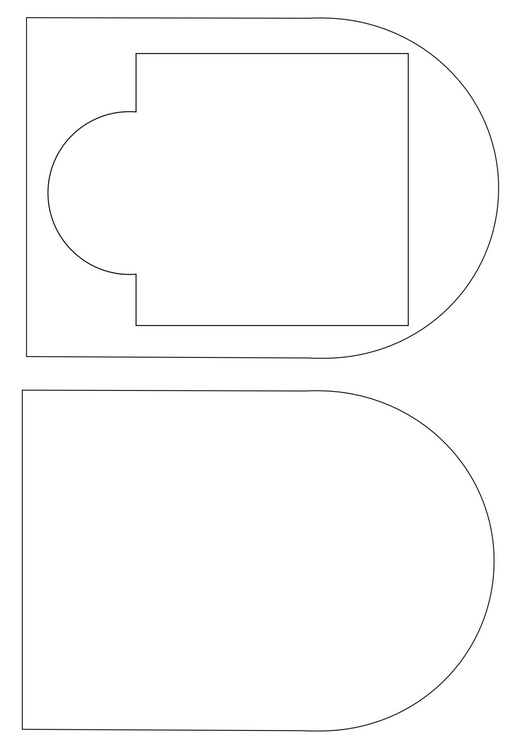
This is our Cardboard Prototype. The first step to building it was to have our finished night light design. From there we made a copy and cut out the outline. We used that to trace the shape on cardboard and cut it out with an X-Acto Knife. We made 4 cardboard copies, for the top piece we traced the inside of the "J" logo and cut it out. The two middle pieces had the center cut out to make room needed for the night itself. The bottom cardboard piece had one hole for the light to fit in snugly. Our next piece was the cityscape. With the same process we traced and cut out the shape making the center with the "J" logo hole. The last cardboard piece was the "J" logo itself we traced and very delicately cut out the guided line one cut at a time. We also made about 32 squared pieces to make the box tall enough to fit the light. Lastly we cut out a clear layer of laminating paper for the plexiglass layer laying blow the 4th outline layer.

This is our Paper Model. The first step to making it was to have our finished night light design. With that we printed 3 copies and outlined the different layers. We then cut the separate pieces out with an X-Acto Knife and put then to the side. Lastly we we cut out a clear layer of laminating paper and put all the paper pieces together to finish the model.
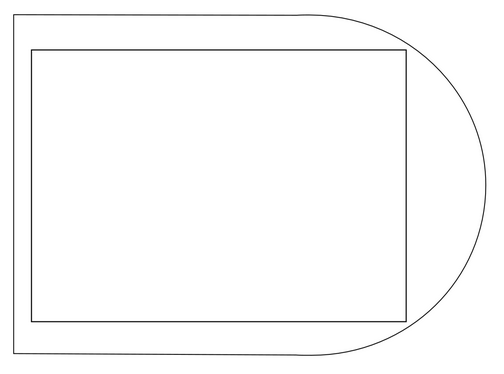
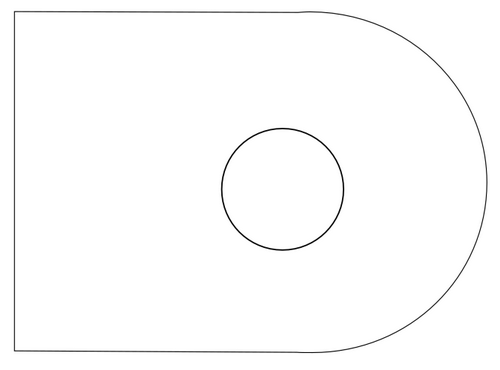
There are our before and after Inkscape files for the middle and back pieces. One mistake I made during this process was improperly visualizing our cardboard prototype to my Inkscape files. For the back piece I forgot to include a hole for the light to fit through. The center pieces section for the light to fit in was too big as well. Over all if the back had a light hole, it still wouldn't be in the correct section. With our final drafts we added and moved the light hole higher up and changed the center piece to just a rectangular inside border.

Front 3 Painted Panels
|
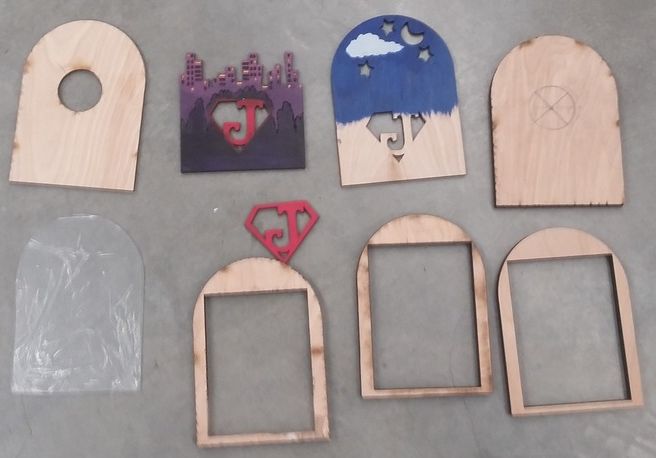
All Wood and Glass Parts of the Night Light
|
